Behaviors
Behaviors are modular steering passes that run each simulation step. Enable them in a SwarmBehaviorProfile assigned to your archetype. Most profiles only need two or three active behaviors.
Finding a behavior setting fast
The Behavior Profile inspector has a search-and-filter bar at the top. See Finding a Setting to search by word or symptom, or to narrow the inspector to the rows that sit away from the factory default. On one of the shipped preset profiles that includes rows the preset tuned, not only rows you touched.
Create one with right-click in the Project window → Create → Massive Swarm System → Agents → Behavior Profile, then drop it into the Behavior Profile slot on your archetype.
Start from a preset
The fastest way to a swarm that looks right is not to tune anything. Open a Behavior Profile and expand Starting Presets, the first section under the Inspector Mode switch (it starts folded, and it is hidden while the search bar has a filter active). Its six buttons each write a complete, playable configuration in one click. Pick the closest one, hit Play, then tune from there.
| Preset | What it gives you |
|---|---|
| Direct Chaser | Straight pursuit with basic spacing. No wander, no standoff. The simplest thing that works |
| Loose Surround | Agents press in and spread around the target. A small chase wander keeps the ring from looking geometric |
| Tight Horde | Dense pressure right against the target, with stronger spacing so bodies still hold their ground |
| Melee Queue | Packed in tight and ready to strike. No wander, so the crowd reads as deliberate rather than milling |
| Wide Circle | The only preset that turns Orbit Style on. Loose circling at a wider radius, with a 1 unit standoff |
| Vampire Survivors Crowd | The survivor-like baseline: hardest approach pressure of the six, moderate spacing, some wander |
A preset rewrites the whole profile, not just its own fields
Every preset writes all seven behavior blocks. It turns Approach & Press, Personal Space and Idle Motion on; it forces Retreat, Hold Nearby Swarm and Predictive Catch-Up off; and it forces Orbit Style off for five of the six (Wide Circle is the exception). So if you spent an afternoon tuning Retreat and then click a preset to "try something", that tuning is gone. Undo works, but check the profile before you save. The inspector says the same thing above the buttons, though only when help text is turned on. A preset never touches the archetype's Perception Profile: sight, Following The Crowd and Searching survive a preset click untouched, because they live on a different asset.
Where to start
If you would rather build a profile by hand, this is the shortcut version.
| Game type | Recommended behaviors |
|---|---|
| Default horde | Approach & Press, Personal Space, Idle Motion |
| Survivor-like crowds | Approach & Press (strong), Personal Space (moderate) |
| Melee packs | Approach & Press + Personal Space |
| Flankers / interceptors | Add Predictive Catch-Up |
| Harassers / strafing enemies | Orbit Style + light approach pressure |
| Loose crowd cohesion | Small Hold Nearby Swarm (tune carefully against Personal Space) |
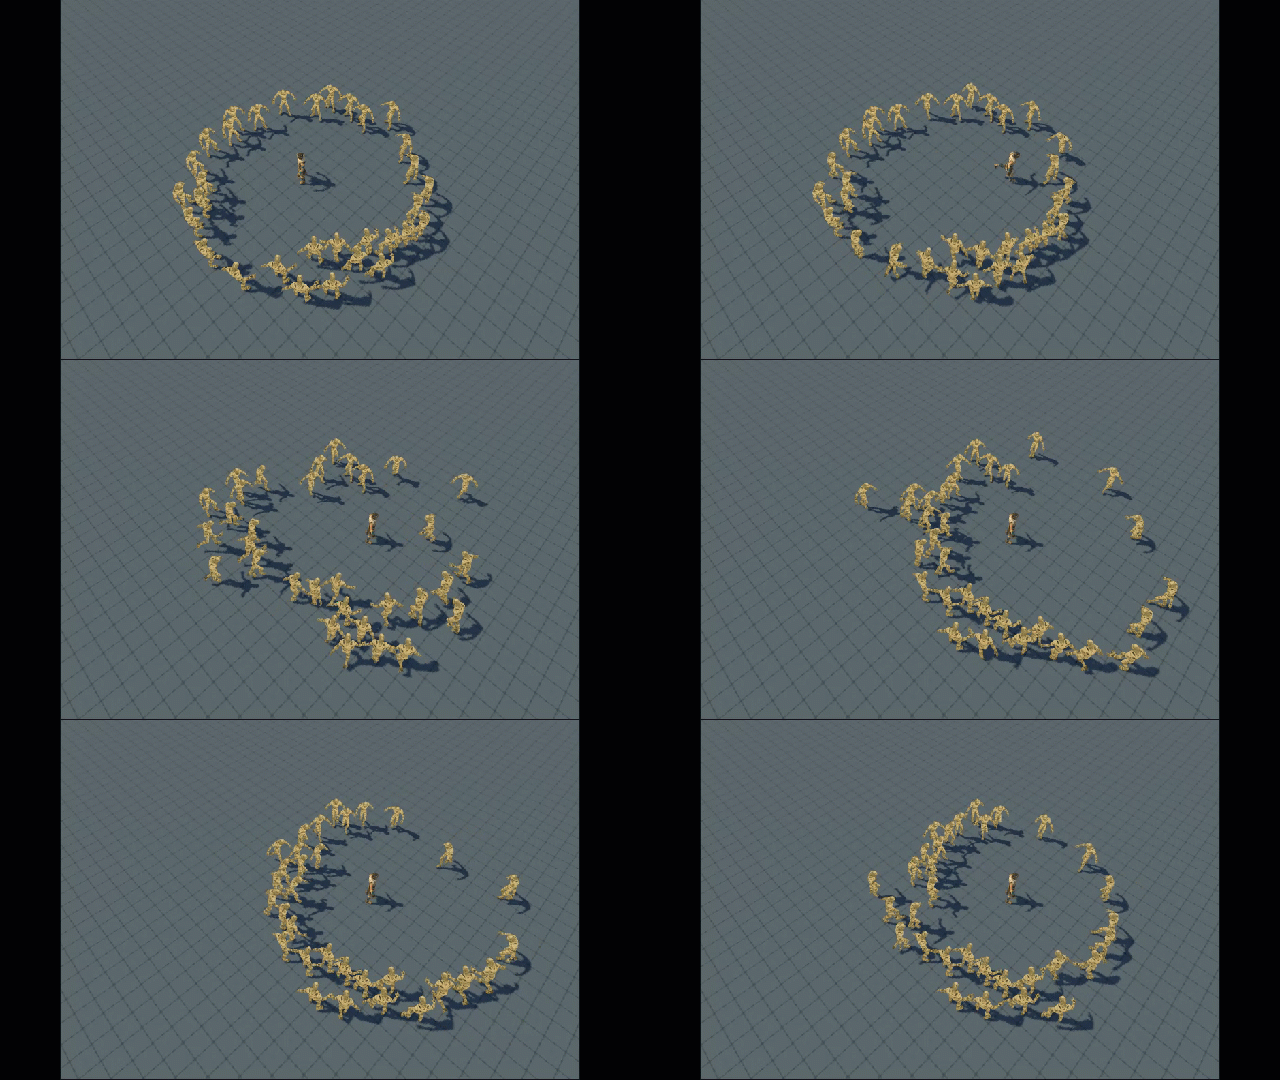
Simple mode field finder
The inspector's Simple mode surfaces a condensed set of fields in two blocks. Each field links to its full documentation in the Advanced subgroup pages.
| Simple block | Field | Full documentation |
|---|---|---|
| Approach Target | Approach Weight | Approach & Press |
| Approach Target | Combat Standoff | Approach & Press |
| Crowd Spacing | Spacing Strength | Personal Space |
| Crowd Spacing | Spacing Radius | Personal Space |
When Simple mode is hiding something that still runs
Simple mode does not disable the four Advanced-only behaviors, it just stops showing them. If Predictive Catch-Up, Retreat When Too Close, Hold Nearby Swarm or Orbit Style is enabled on the profile, the inspector prints a notice naming them (the first three, then "and 1 more" if all four are on) and telling you to switch to Advanced. That message is the answer to "why is my swarm doing something I have no control for", so read it rather than dismissing it.
Factory defaults
What a brand-new Behavior Profile contains, before you touch anything or apply a preset. Three behaviors ship on and four ship off. Keep this handy for undoing a tuning pass that went sideways, especially if you are reading the PDF away from the editor.
| Behavior | Ships | Default values |
|---|---|---|
| Approach & Press | on | Approach Weight 1, Arrival Distance 0.75, Combat Standoff 0, Chase Wander 0, Chase Wander Interval 0.6 |
| Personal Space | on | Spacing Strength 1, Spacing Radius 1.25, Spacing Samples 8 |
| Idle Motion | on | Idle Motion Weight 0.2, Direction Change Interval 2, Rest Time 0, Timing Jitter 0.5, Leash Radius 0 |
| Retreat | off | Retreat Weight 1, Start Retreating 3, Stop Retreating 6 |
| Hold Nearby Swarm | off | Group Pull Strength 0.35, Group Pull Radius 2.5, Group Pull Samples 8 |
| Predictive Catch-Up | off | Prediction Weight 1, Look-Ahead Time 0.35, Max Look-Ahead Distance 6, Distance Look-Ahead Factor 0 |
| Orbit Style | off | Orbit Style Weight 0.75, Orbit Style Distance 4, Distance Tolerance 1, Orbit Direction Clockwise |
The values under a behavior that ships off are what it starts with the moment you enable it.
Runtime blending
Behavior steering is additive: the manager combines all enabled contributions, clamps the result to unit length, smooths it through the movement profile, and multiplies by Max Speed.
Key points:
- Disable, don't zero. Several behaviors cost query budget even when their weight is
0. Disable the behavior fully when you want it gone. - Weights are relative, and they saturate. Doubling a weight doubles that behavior's own pull before the clamp. It does not make it twice as strong as another behavior at weight
1, because each behavior produces a different raw length (Personal Space grows sharply as neighbours get closer). The combined steering is capped at unit length, though, so once the total reaches that cap raising one behavior's weight only turns the result toward it and pulls the others down. Past the cap a weight stops being independent. Tune in small steps and watch the whole mix, not one knob. Agent Spacing ScaleinSwarmSettings:0disables Personal Space entirely. It also moves the radius Orbit Style circles at, by the agent's radius times (scale minus 1): wider above1, tighter below. It feeds body blocking and the dormancy check. It does not touch where Approach & Press stops: that standoff is built from the target's body radius, the agent's own radius and Combat Standoff, with no spacing scale in it.- Approach & Press uses a built-in LOD. Reduced and Cheap tier agents reuse cached steering, refreshed every N fixed steps (
Approach And Press Reduced Interval/Cheap IntervalinSwarmSettings). Whether an agent can ever lose its target at all is decided by the archetype's Perception Profile, not by this profile: with none assigned, every agent always pursues directly.
Importance LOD and behavior cost
The LOD system (configured in SwarmSettings → Importance LOD) reduces behavior frequency for distant agents:
| Tier | Behavior cost |
|---|---|
| Full | All behaviors run every step |
| Reduced | Personal Space runs at reduced rate and with fewer samples. Approach & Press steering recomputed every N steps (cached between) |
| Cheap | Personal Space even less frequent, further-reduced sample cap. Approach & Press steering recomputed even less often (cached between) |
Reduced Quality Start Distance is the line inside which an agent is Full by right, up to Full Quality Agent Cap. If the cap still has room, the nearest on-camera agents beyond the line are promoted to Full to fill it, and with the cap at 0 every on-camera agent is Full. The cap keeps the Full tier from spiking when a crowd converges on one target.
Cheap works differently, and this is the part that surprises people: Cheap Quality Start Distance is a requirement, not a trigger. An agent only goes Cheap once it is past that distance and off camera. Anything the gameplay camera can see stays at Reduced or better no matter how far away it is, unless it is dormant: a sleeping agent is always Cheap. An agent holds that tier for Off Screen Quality Grace seconds after leaving the frame so agents at the edge do not flicker between tiers. Agents already in Reduced also have to clear Cheap Demotion Margin on top of the distance before they drop. An off-camera agent standing next to a Full agent is also pulled up to Reduced (Crowd Edge Promotion Strength).
Diagnosing behavior problems
When a behavior change has no visible effect, or an agent moves in an unexpected direction, use Swarm Debug (Tools > Massive Swarm System > Swarm Debug). It shows the live steering contribution from each behavior for one selected agent, and lets you isolate or mute individual behaviors without editing profile assets.
See Swarm Debug for the full reference.
Behavior sections
- Approach Target: Approach & Press, Predictive Catch-Up, Retreat
- Crowd Spread: Personal Space, Hold Nearby Swarm
- Close Range Combat (the inspector labels this group Circling & Strafing): Orbit Style
- Lost Target Behavior: Following The Crowd, Idle Motion